Installation and fitting of pergolas
You've decided to install a pergola. It's an excellent opportunity to add value to your home. Now that you've decided on the location for your pergola, you're wondering how to go about installing it. Whether it's made of aluminium, wood or iron, there are a number of options available to you. We've outlined the various steps to follow, whatever the location and type of pergola.
Installing a freestanding pergola
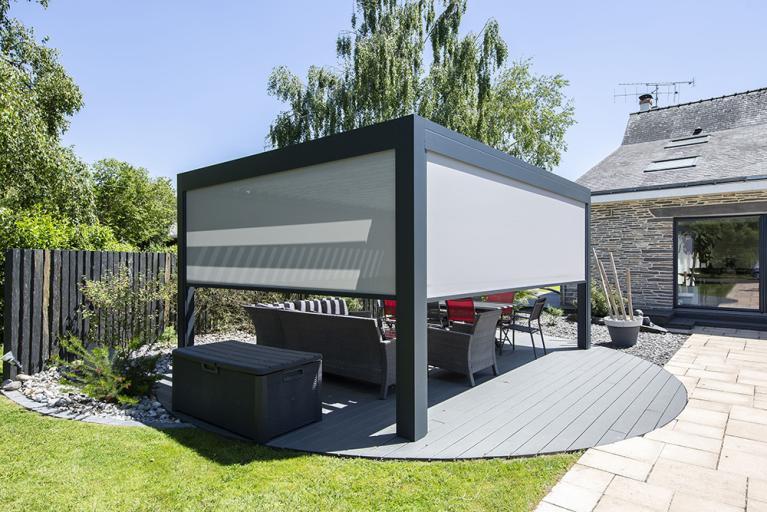
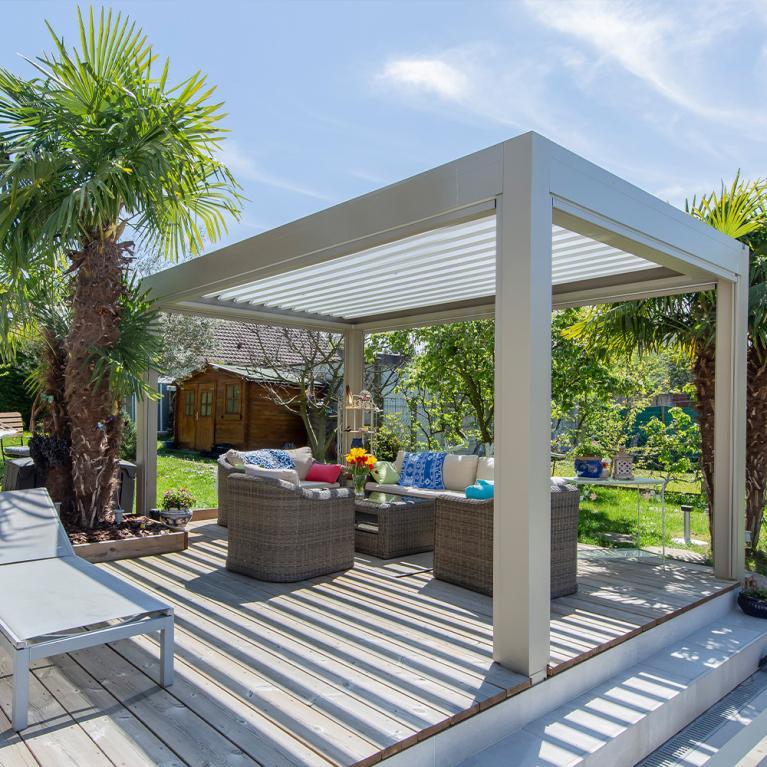
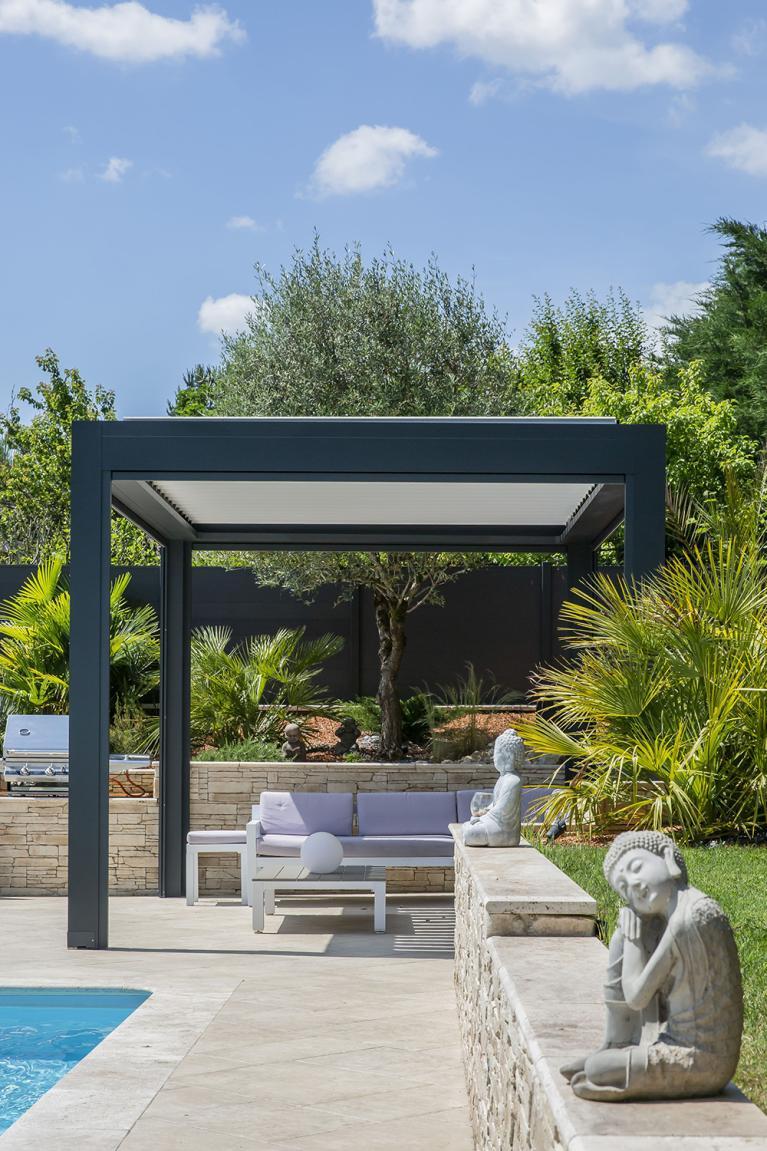
A self-supporting pergola is also known as a freestanding or ‘island’ pergola. As its name suggests, it is supported by four pillars fixed to the ground. So it can be placed wherever you like, in your garden or on the terrace. Before installing your future project, it's essential to find out what you need to do.
To install a freestanding pergola, you need to start by defining its dimensions. Then define the location of the legs and the outline of your pergola. You don't need to pour a slab to install a pergola. All you need to do is place concrete blocks or bases to secure it in place. This way, it will withstand wind and weather. If you decide to install your freestanding pergola on grass (soft soil), you will need to build a formwork so that you can fix the base plates.
If you're installing your pergola on hard ground such as a terrace, all you need to do is drill holes with a percussion drill and screw the plates in place. Once the plates are in place, it's time to assemble the frame of your shelter. If you want to install a kit pergola, the instructions are for private individuals. With the help of one or more other people, it will be quick and easy to assemble. Always remember to assemble the frame on the ground. Although simple, this can be quite a perilous exercise.
Installing a lean-to pergola
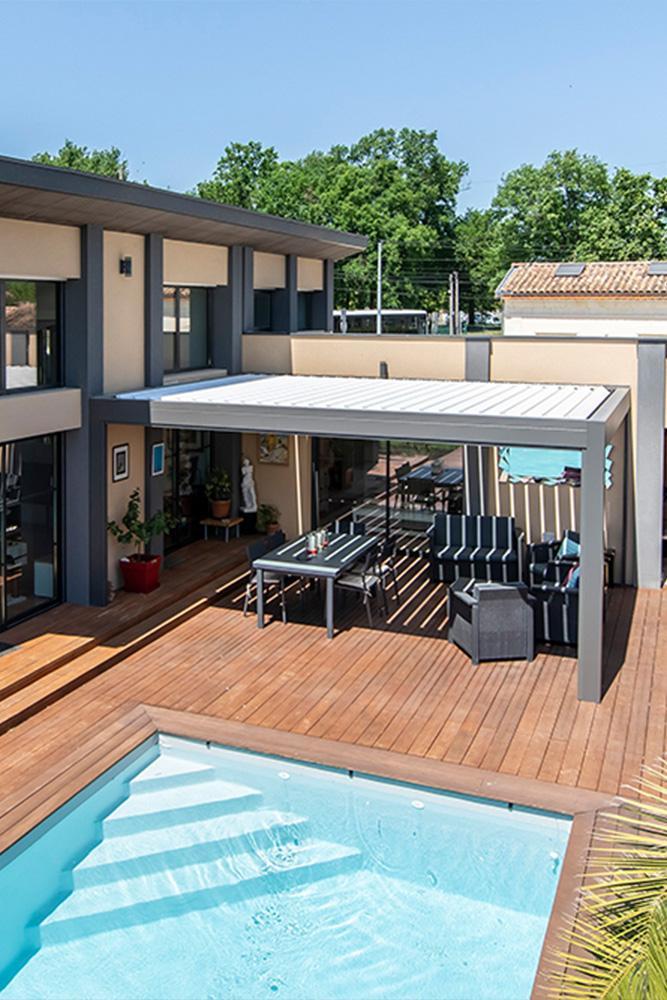
A lean-to pergola is fixed directly to the front of the house. It has only two legs, so is quicker to install than a freestanding pergola. To install a wall-mounted pergola, the first steps are more or less the same. Define the dimensions of your future extension. Then determine the location of the posts. Then position the fixing beam on the wall of your house. To fix the beam, you'll need to drill a hole in the wall using a concrete drill bit. Don't forget to check that the beam is straight using a level! As for the pillars, the steps are the same as for an island pergola. Finally, you need to assemble the framework to the beam and posts. It will take between one and two days to install your pergola.
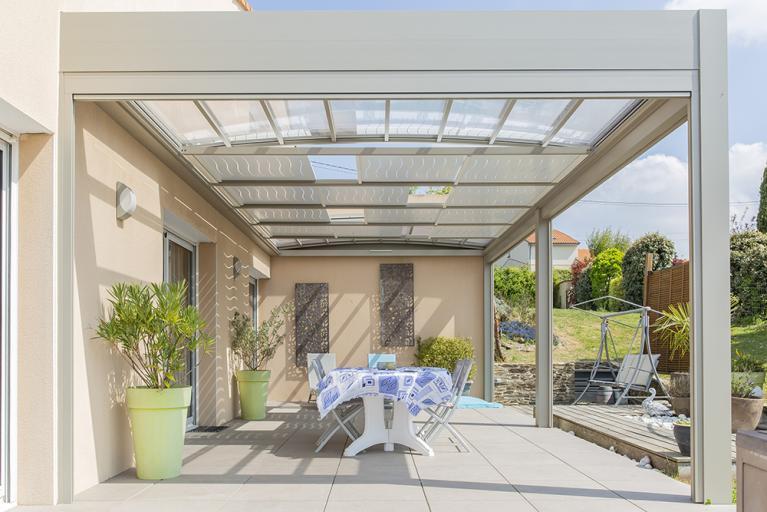
Fixing a bioclimatic pergola
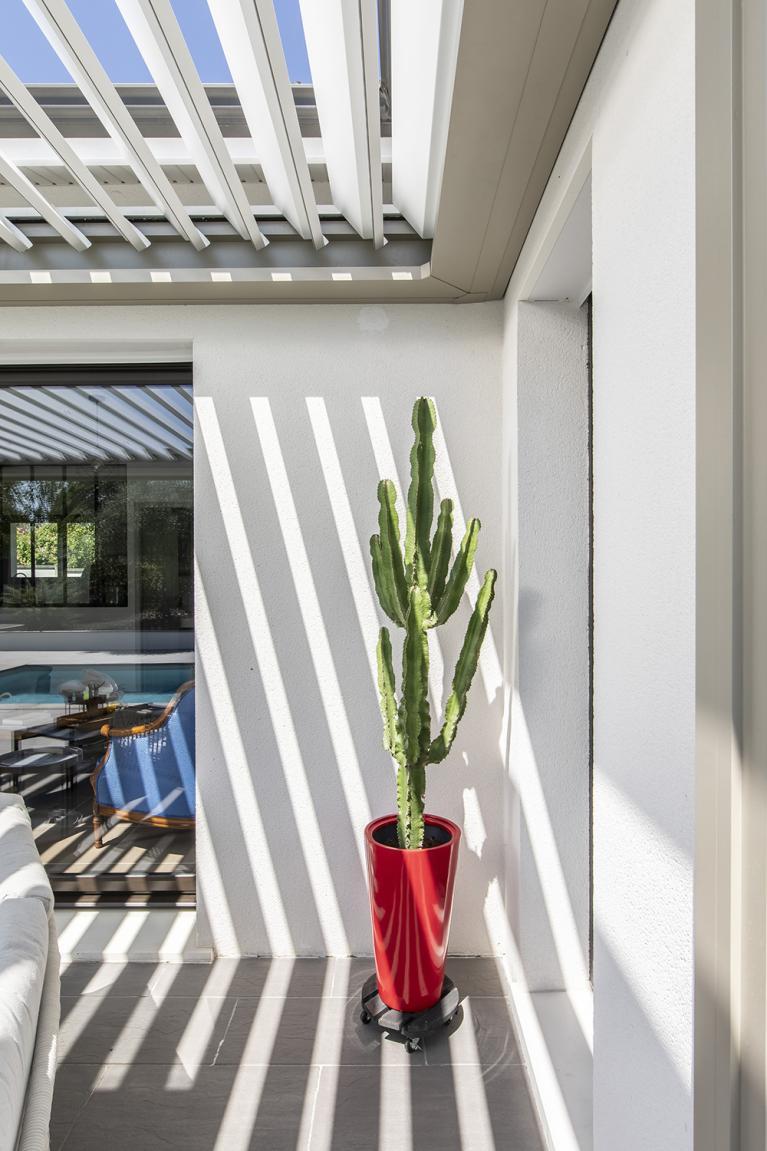
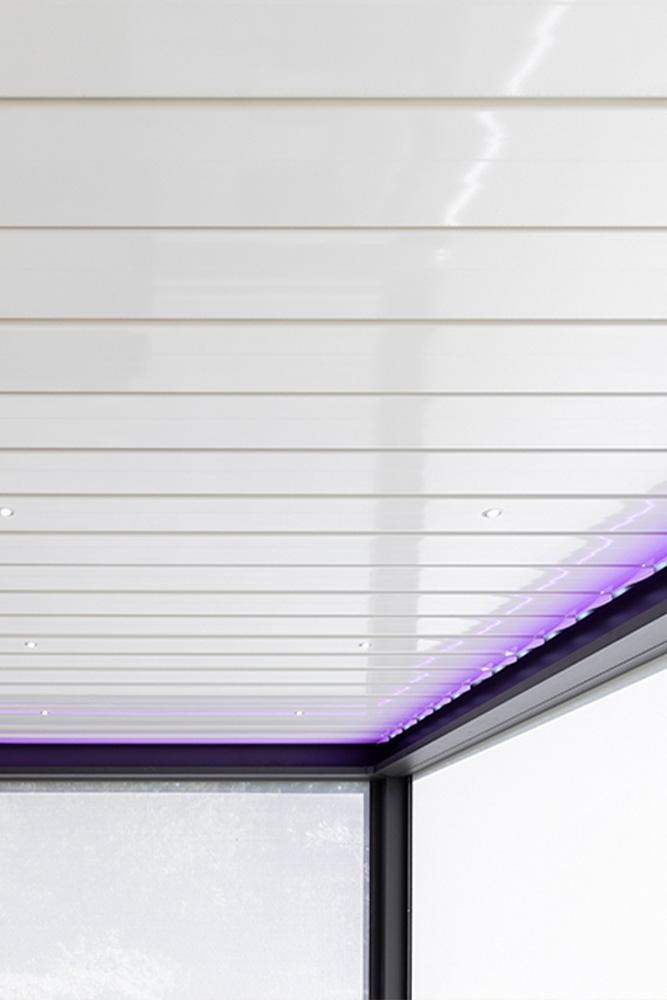
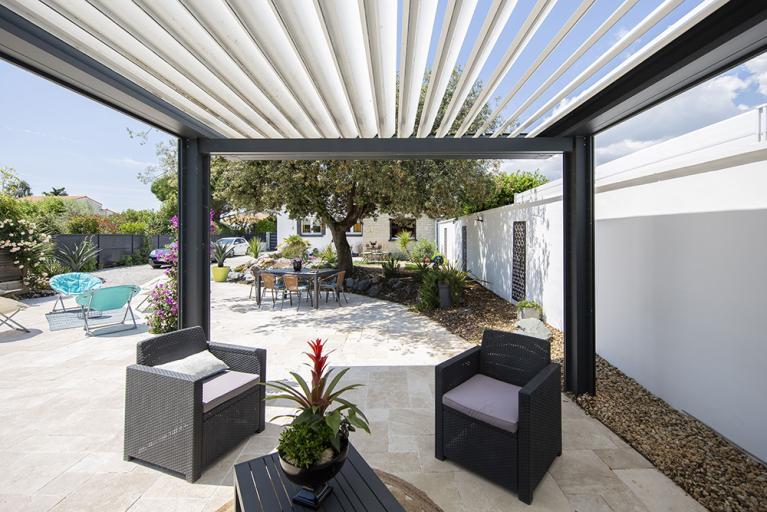
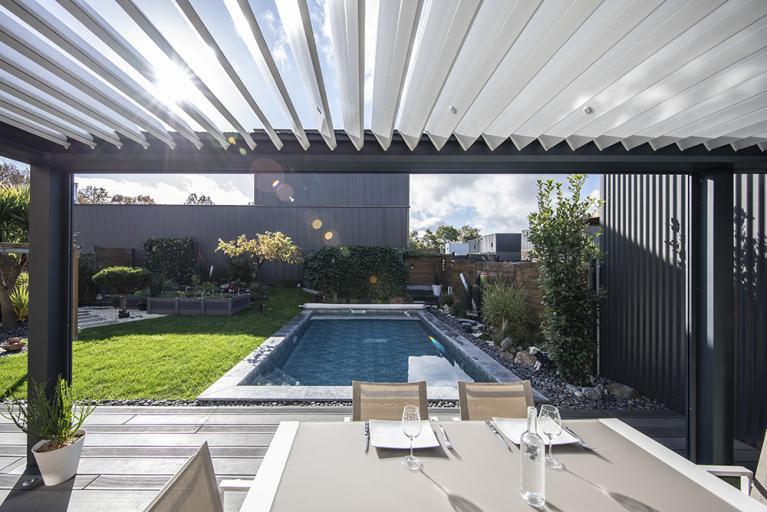
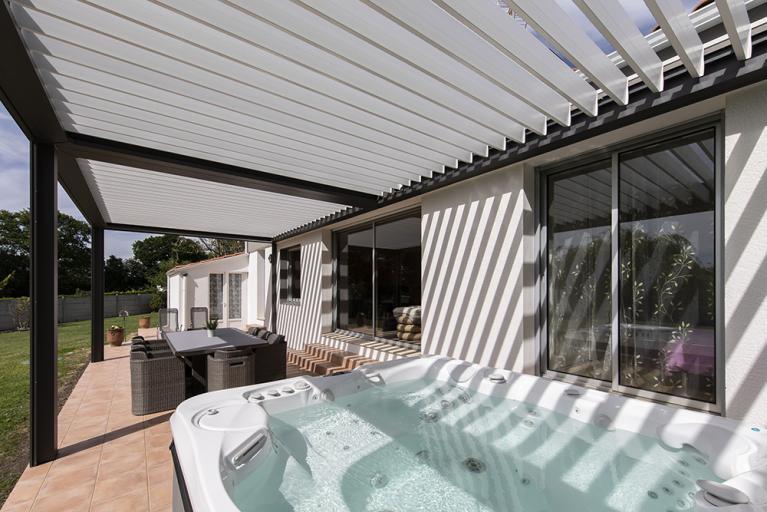
The special feature of a bioclimatic pergola is its roof made up of adjustable slats. These can be manual or motorised with a remote control. The installation of a bioclimatic pergola is identical to that of a conventional pergola. The only difference is the way the roof is laid. Each slat must be fitted individually and then connected to the mechanical system. The slats should be clicked onto the rack and fixed parallel to the house. Then adjust the opening of the slats according to the manufacturer's instructions. Whether you're a DIY enthusiast or not, don't hesitate to call in a builder to install your pergola. A professional installer will be able to guide you in your choices. What's more, you'll benefit from your professional's insurance and guarantees. You'll also be sure that your installation is compliant.
Find all the articles in the magazine
You have a project?
Would you like a personalised 3D study and a free quotation? Contact us by clicking below.
AKENA is...
Over 40 years of experience
Founded in 1981 by one man, we now have more than 500 employees dedicated to making your project a success.
Made in France
A historic site and two factories covering more than 25,000 m² in Dompierre-sur-Yon in the Vendée region (85)
Innovative and tailor-made products
At AKENA, we are brimming with new ideas to improve and enhance our products.
The European leader in conservatories, pergolas...
But not only! AKENA also offers a complete range of carports and pool houses.
